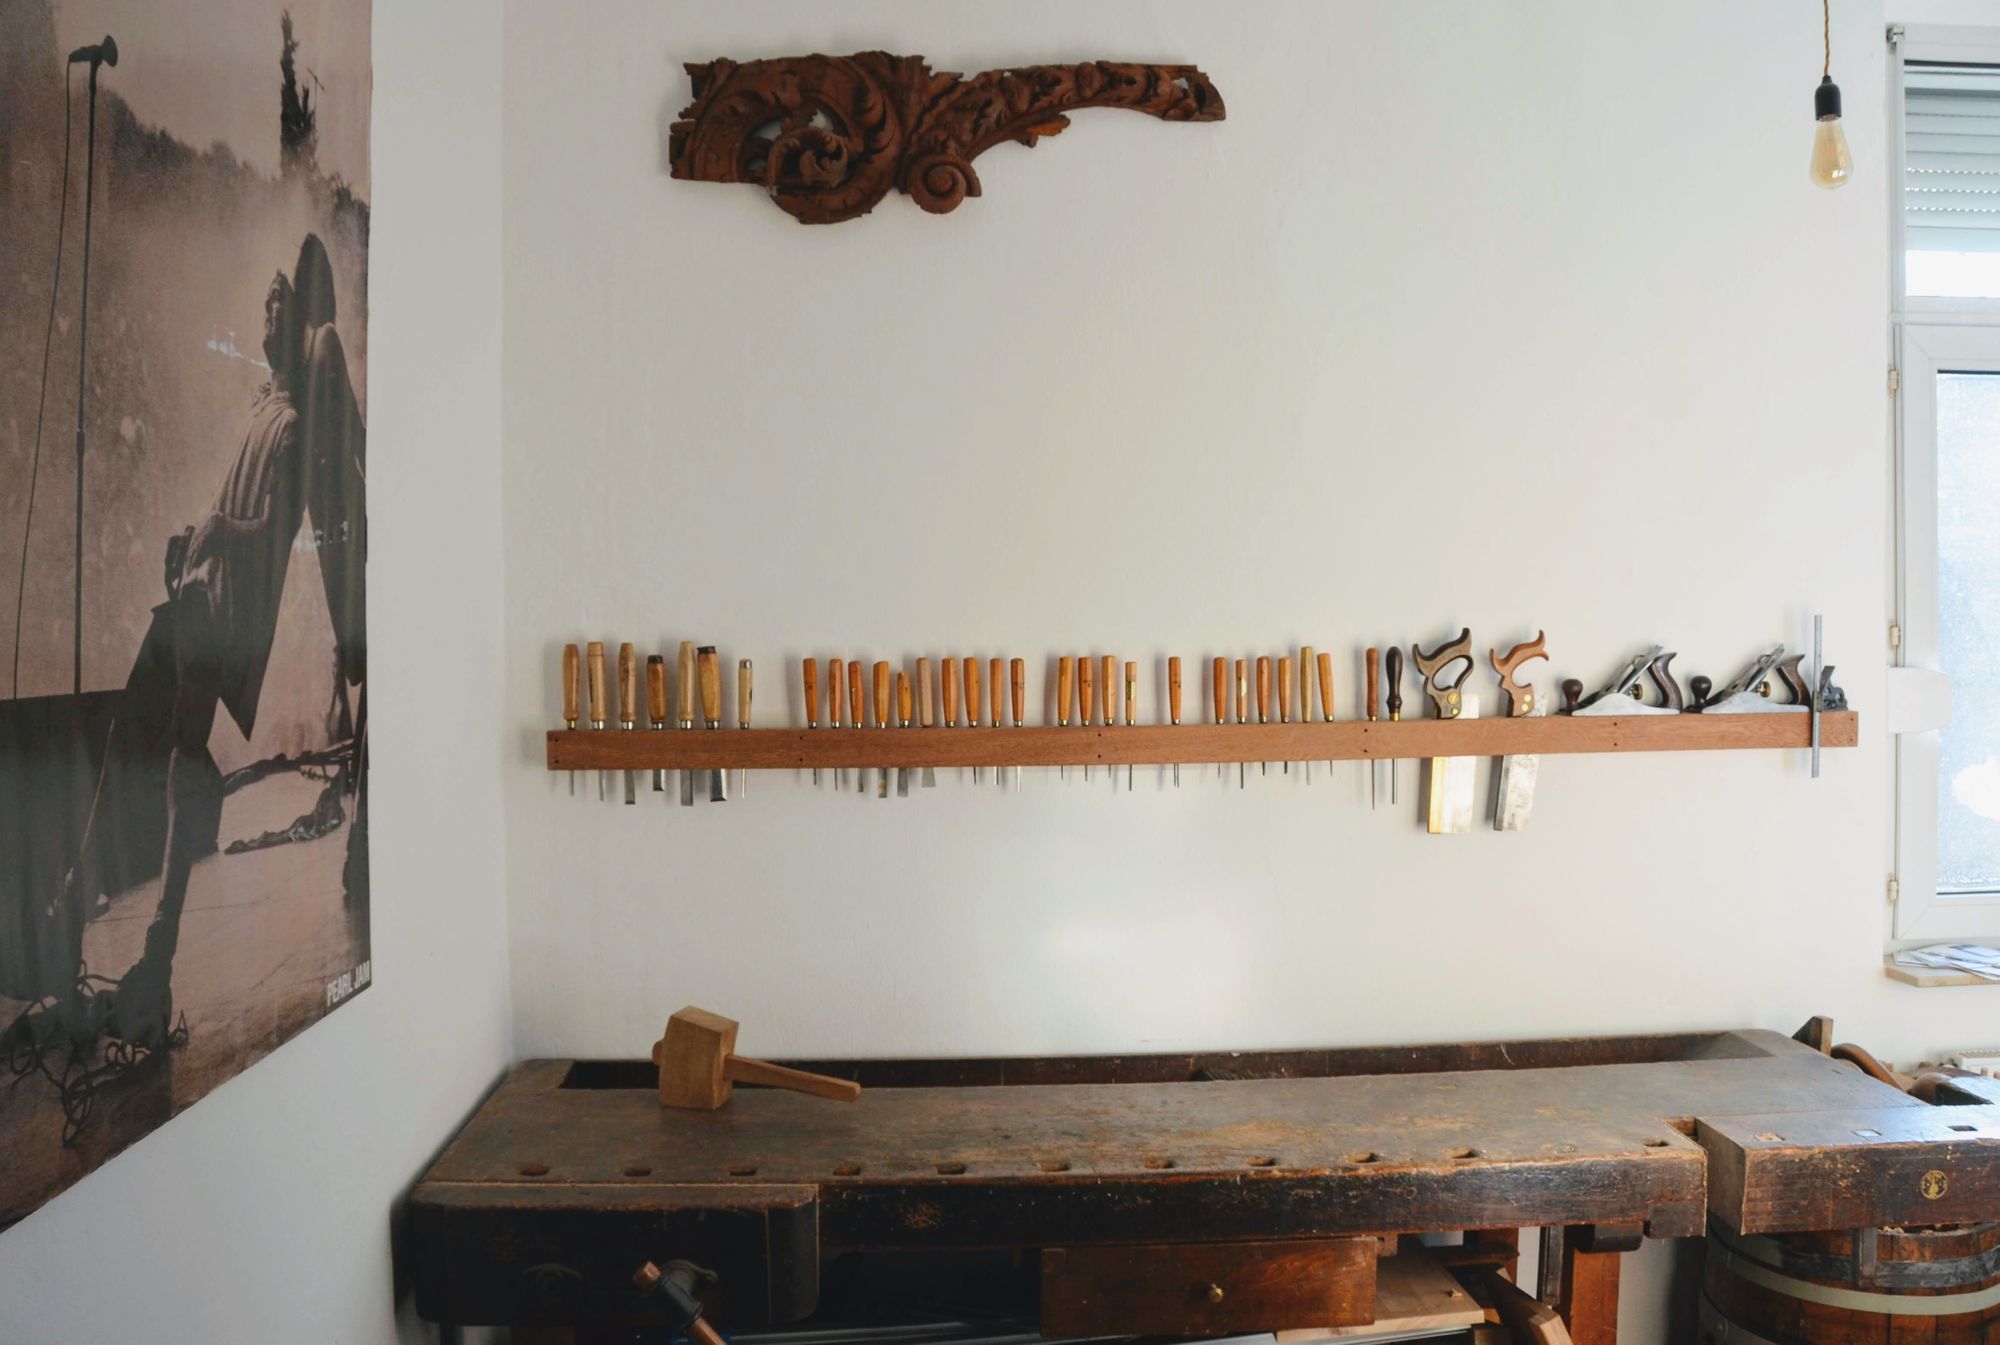
Hand tool rack with French cleat

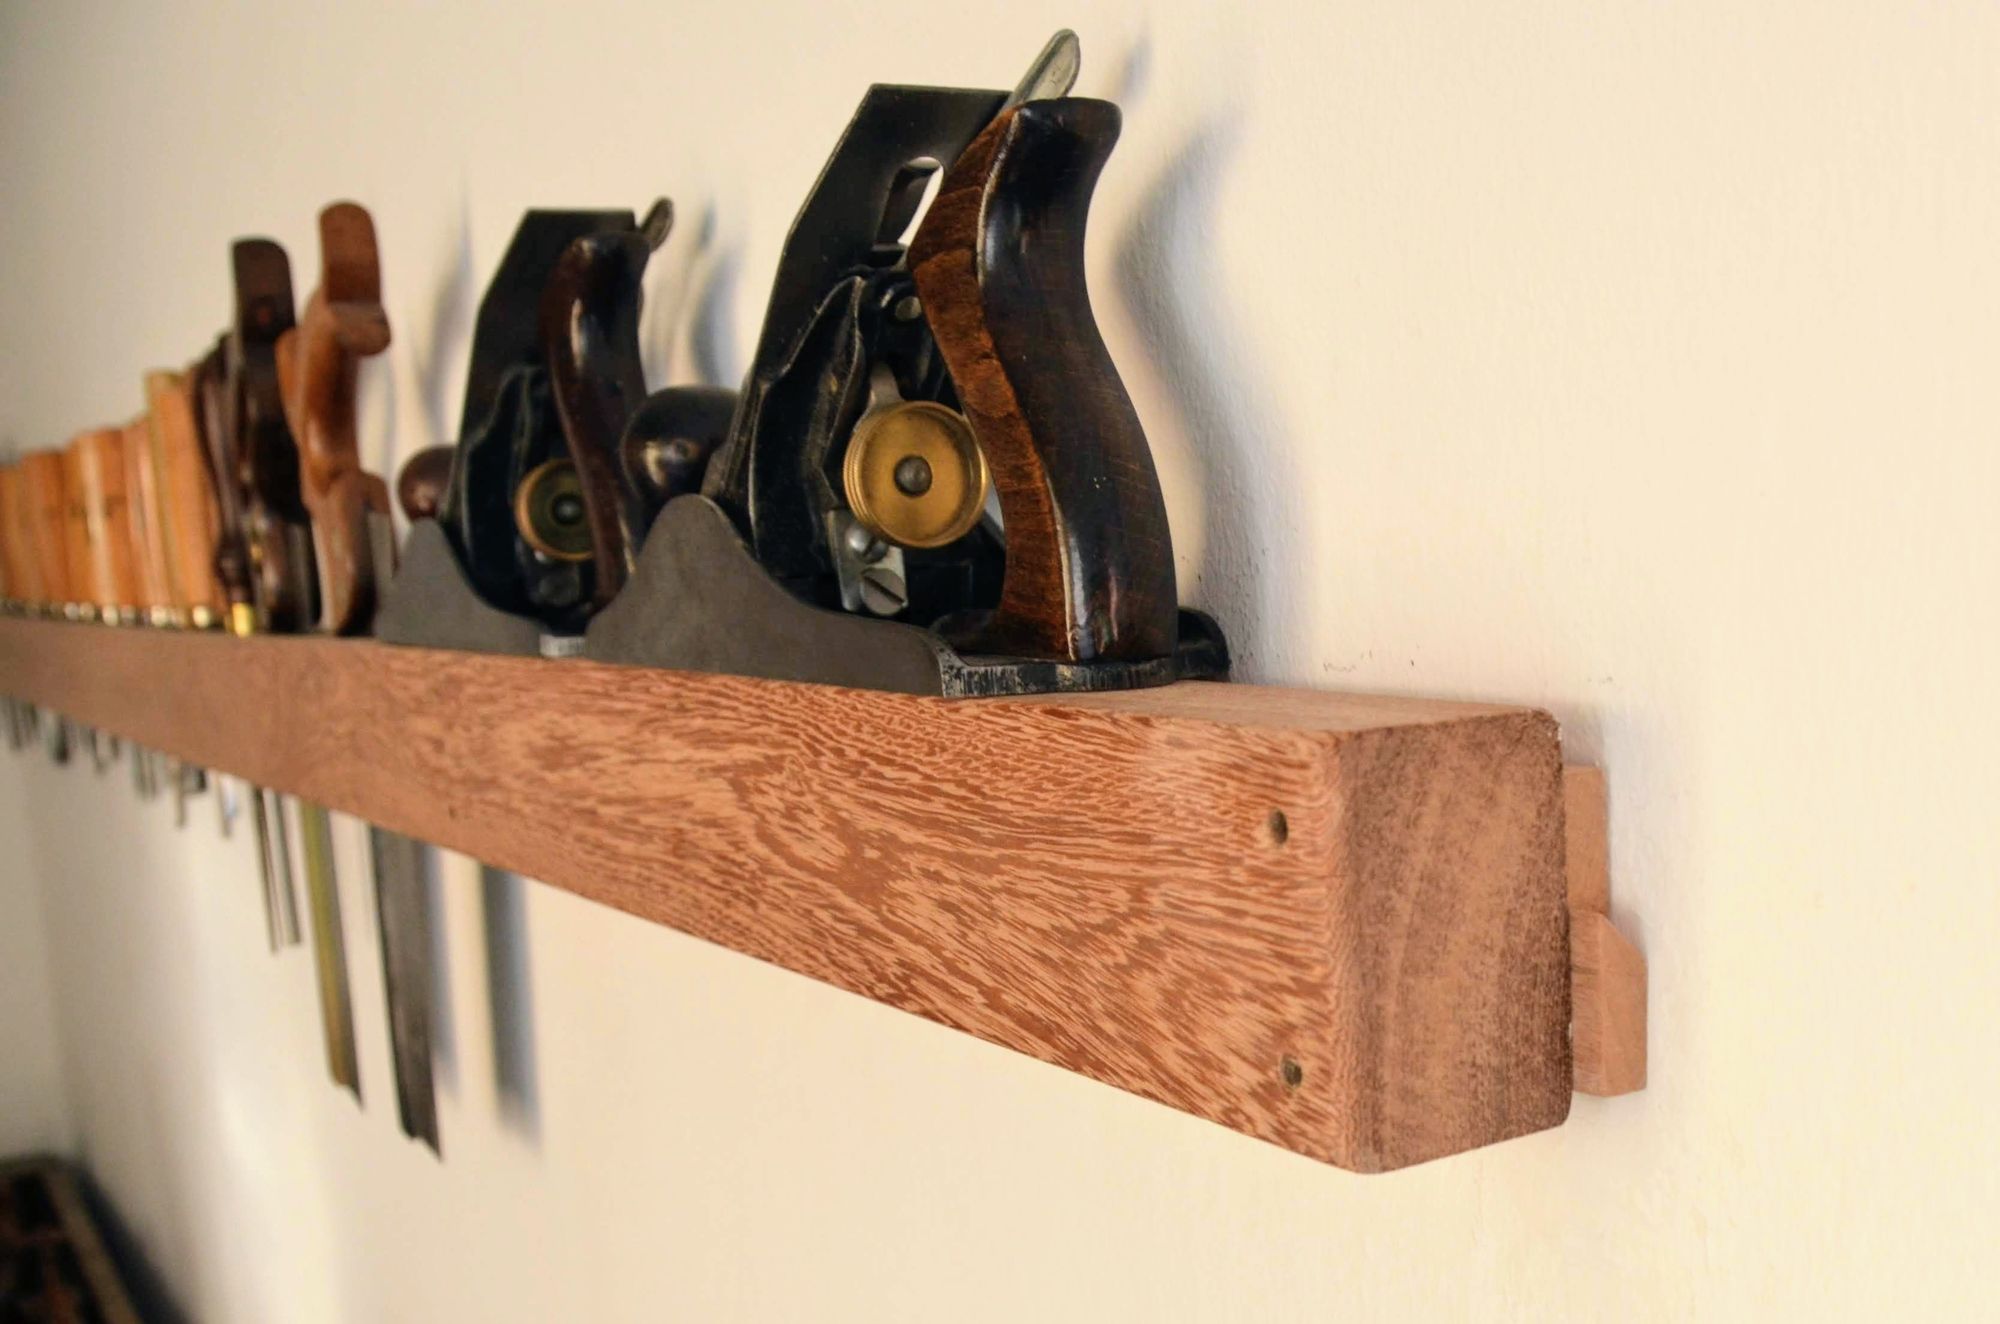
Making a French cleat for a solid and portable tool rack.
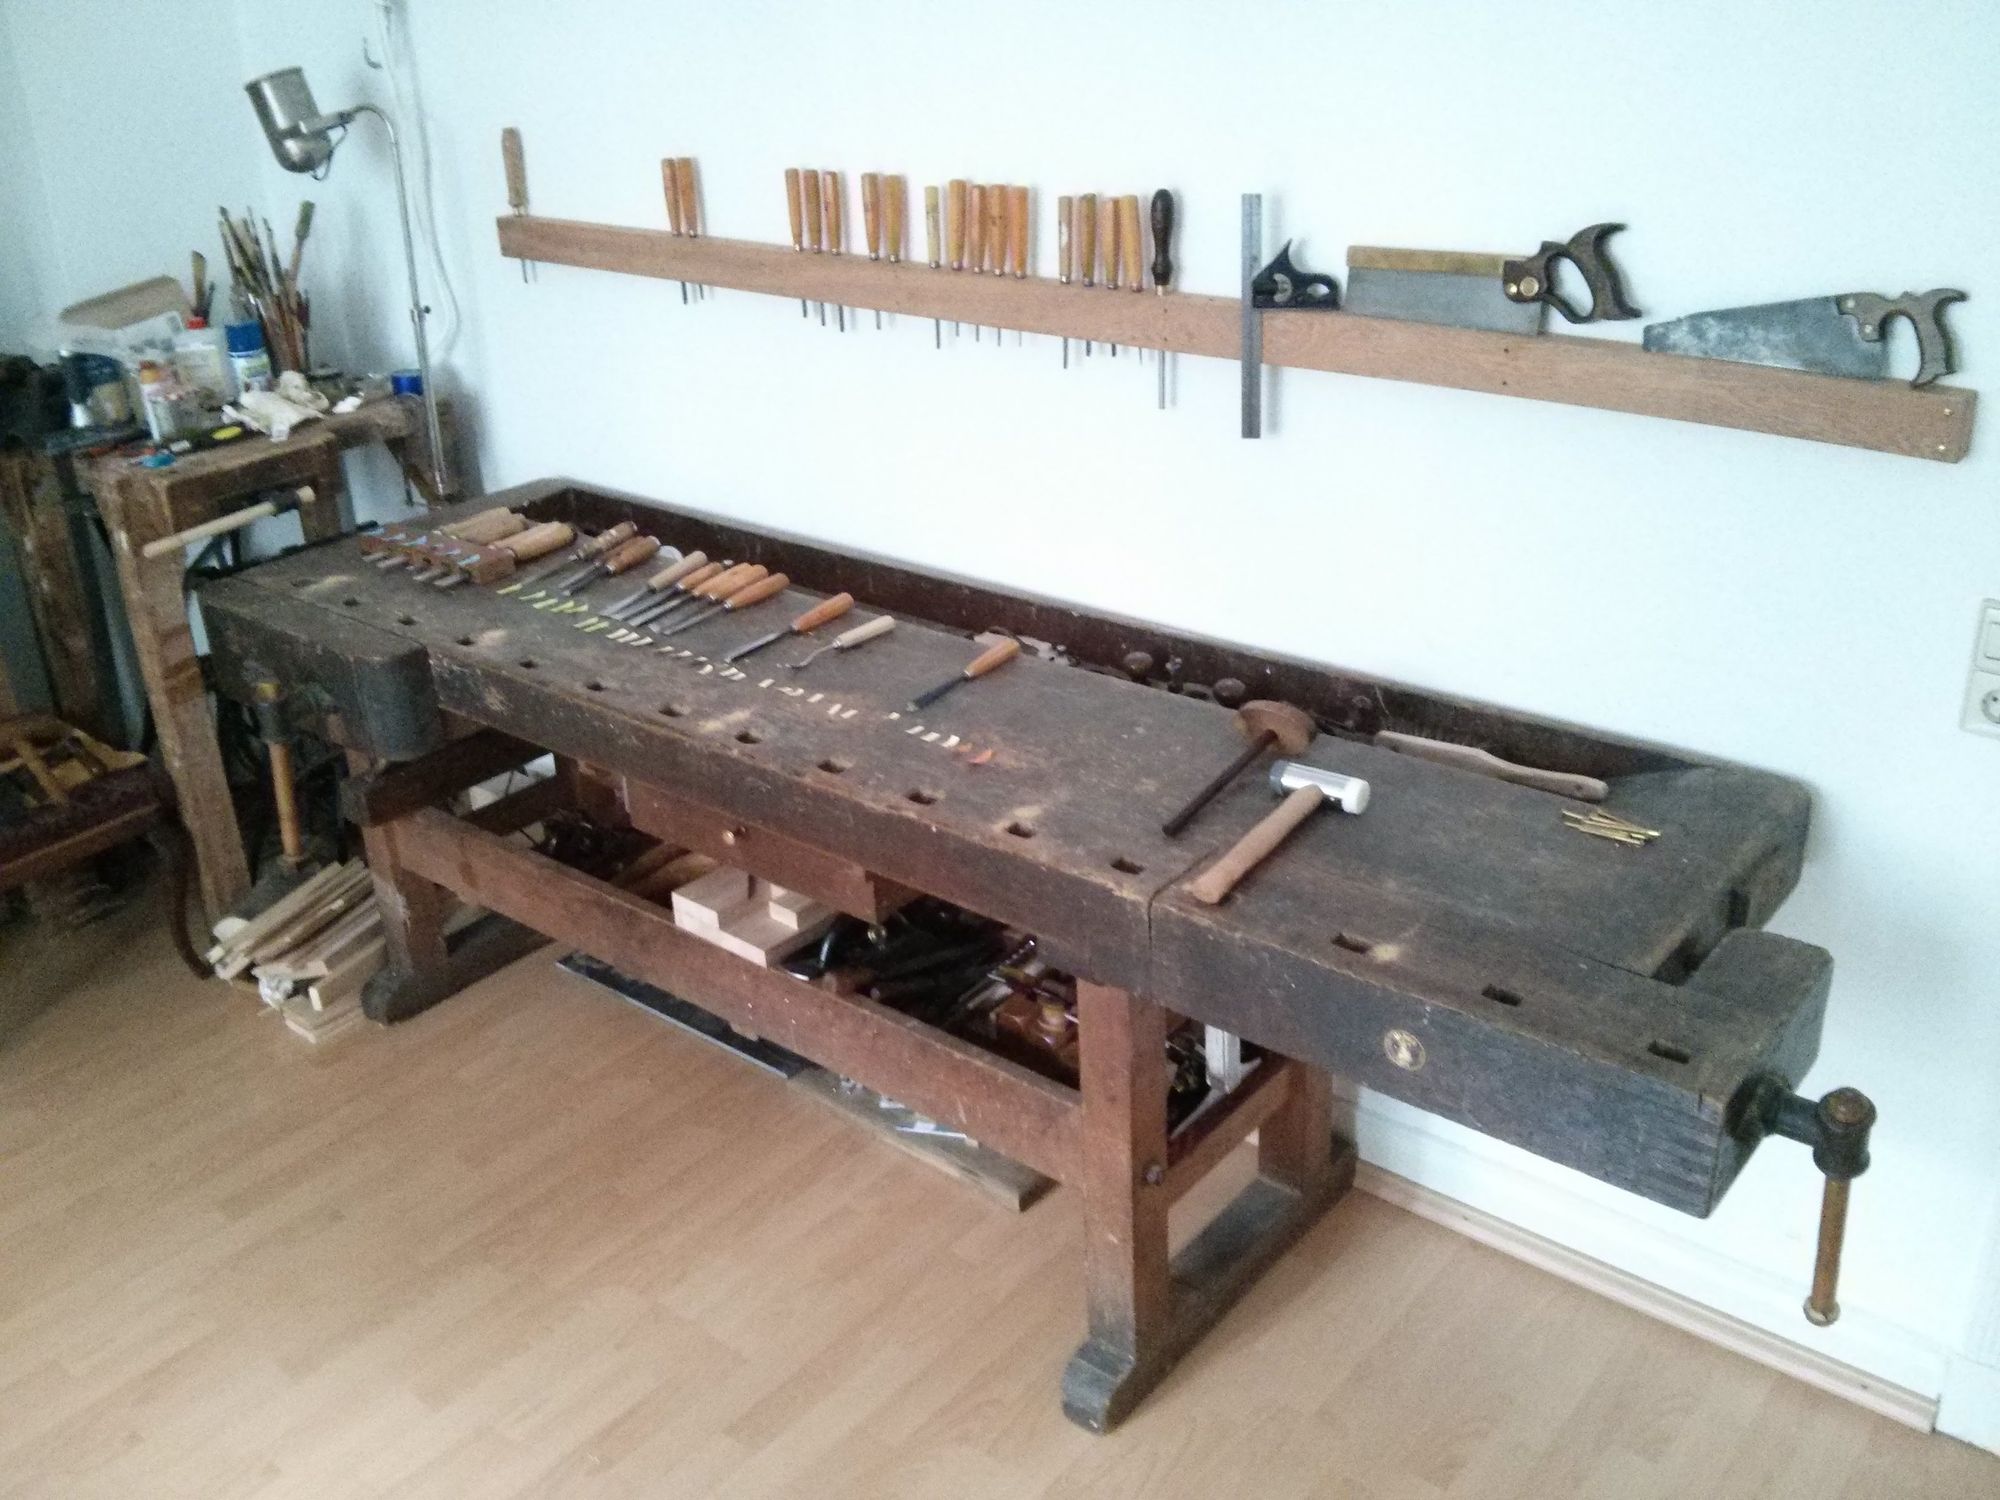
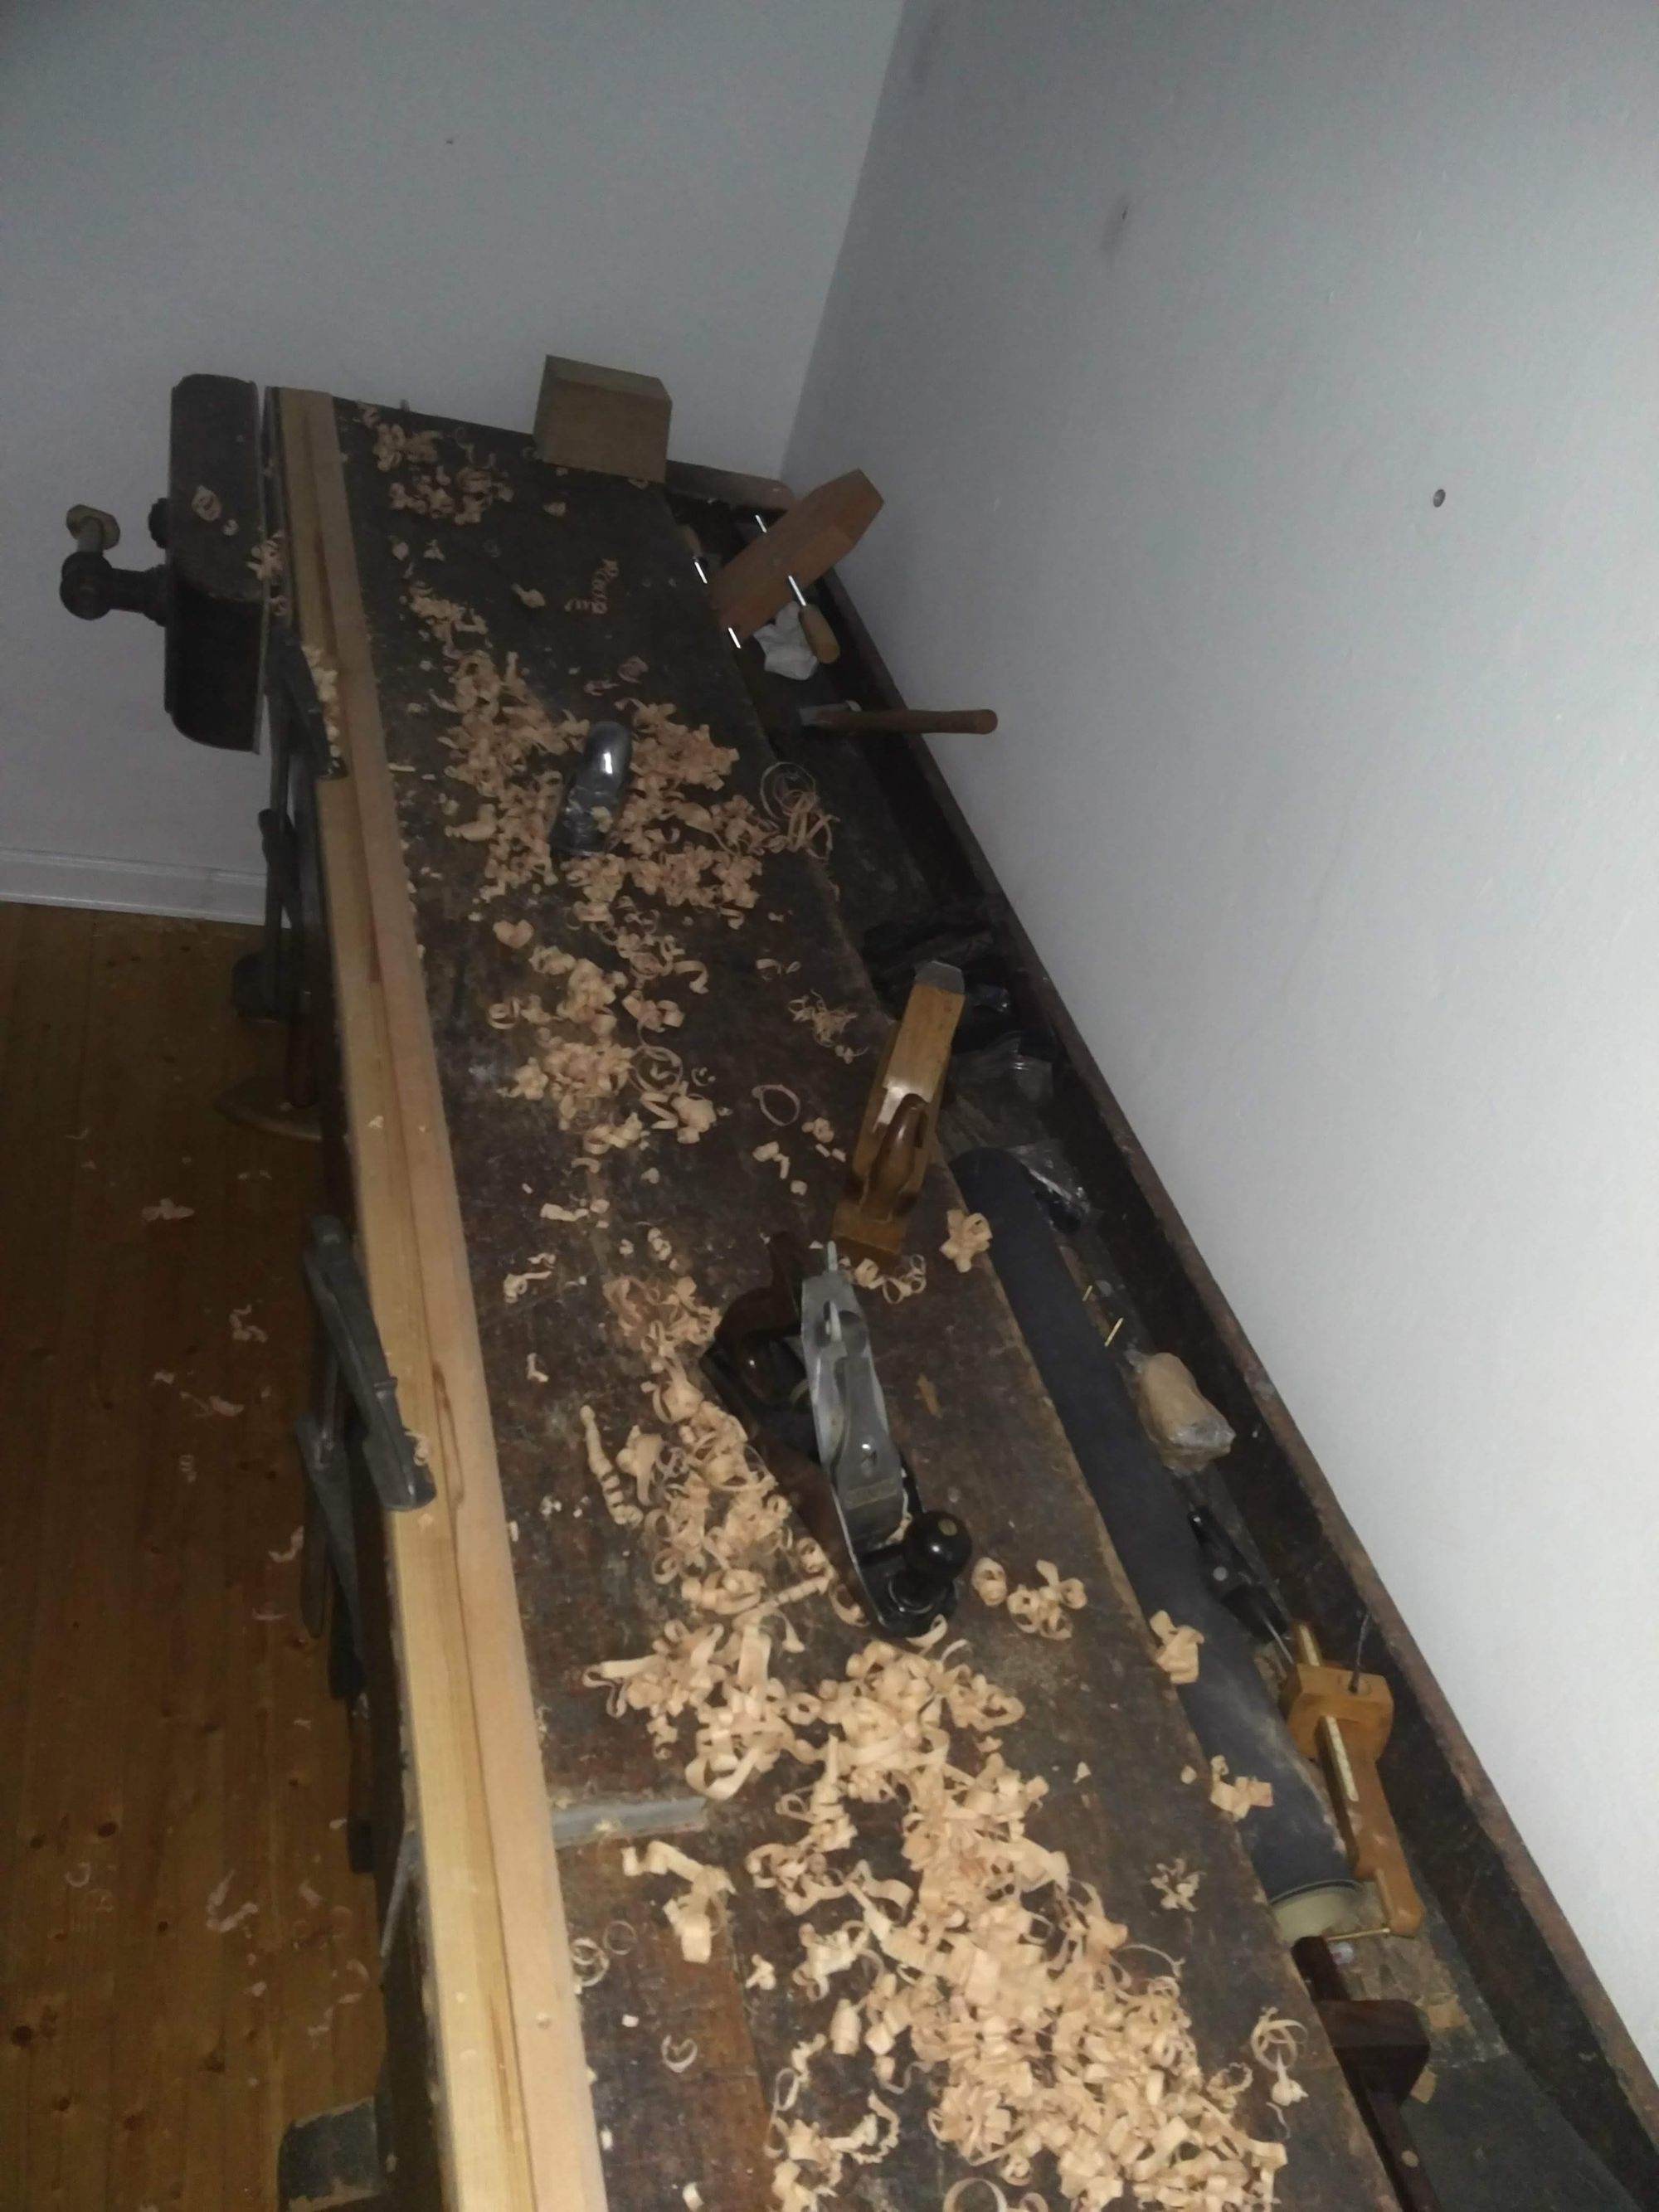
A couple of years ago I built a rather spartan hand tool rack, also known as chisel rack or till. I might write more about it at some point, but for what relates to this post, I attached directly to the wall at our old place.
The house was an Art Nouveau building from 1915, with solid brick walls. I used wall plugs and long slotted brass screws for the classic look. Simple and effective. The downside was quite a few holes in the wall, which were a bit of a pain to restore when we repainted the wall before moving out.
The new place we moved into also has solid walls, but unfortunately behind 3 cm (1 ¼") of mortar, which start to crumble as soon as the word "drill bit" is spoken.
Generally, securing objects to the wall here requires careful planning and very long wall plugs. So I thought a different approach was needed. Although I knew about the French cleat as a neat and solid option, I had not used it before. Time to test it.
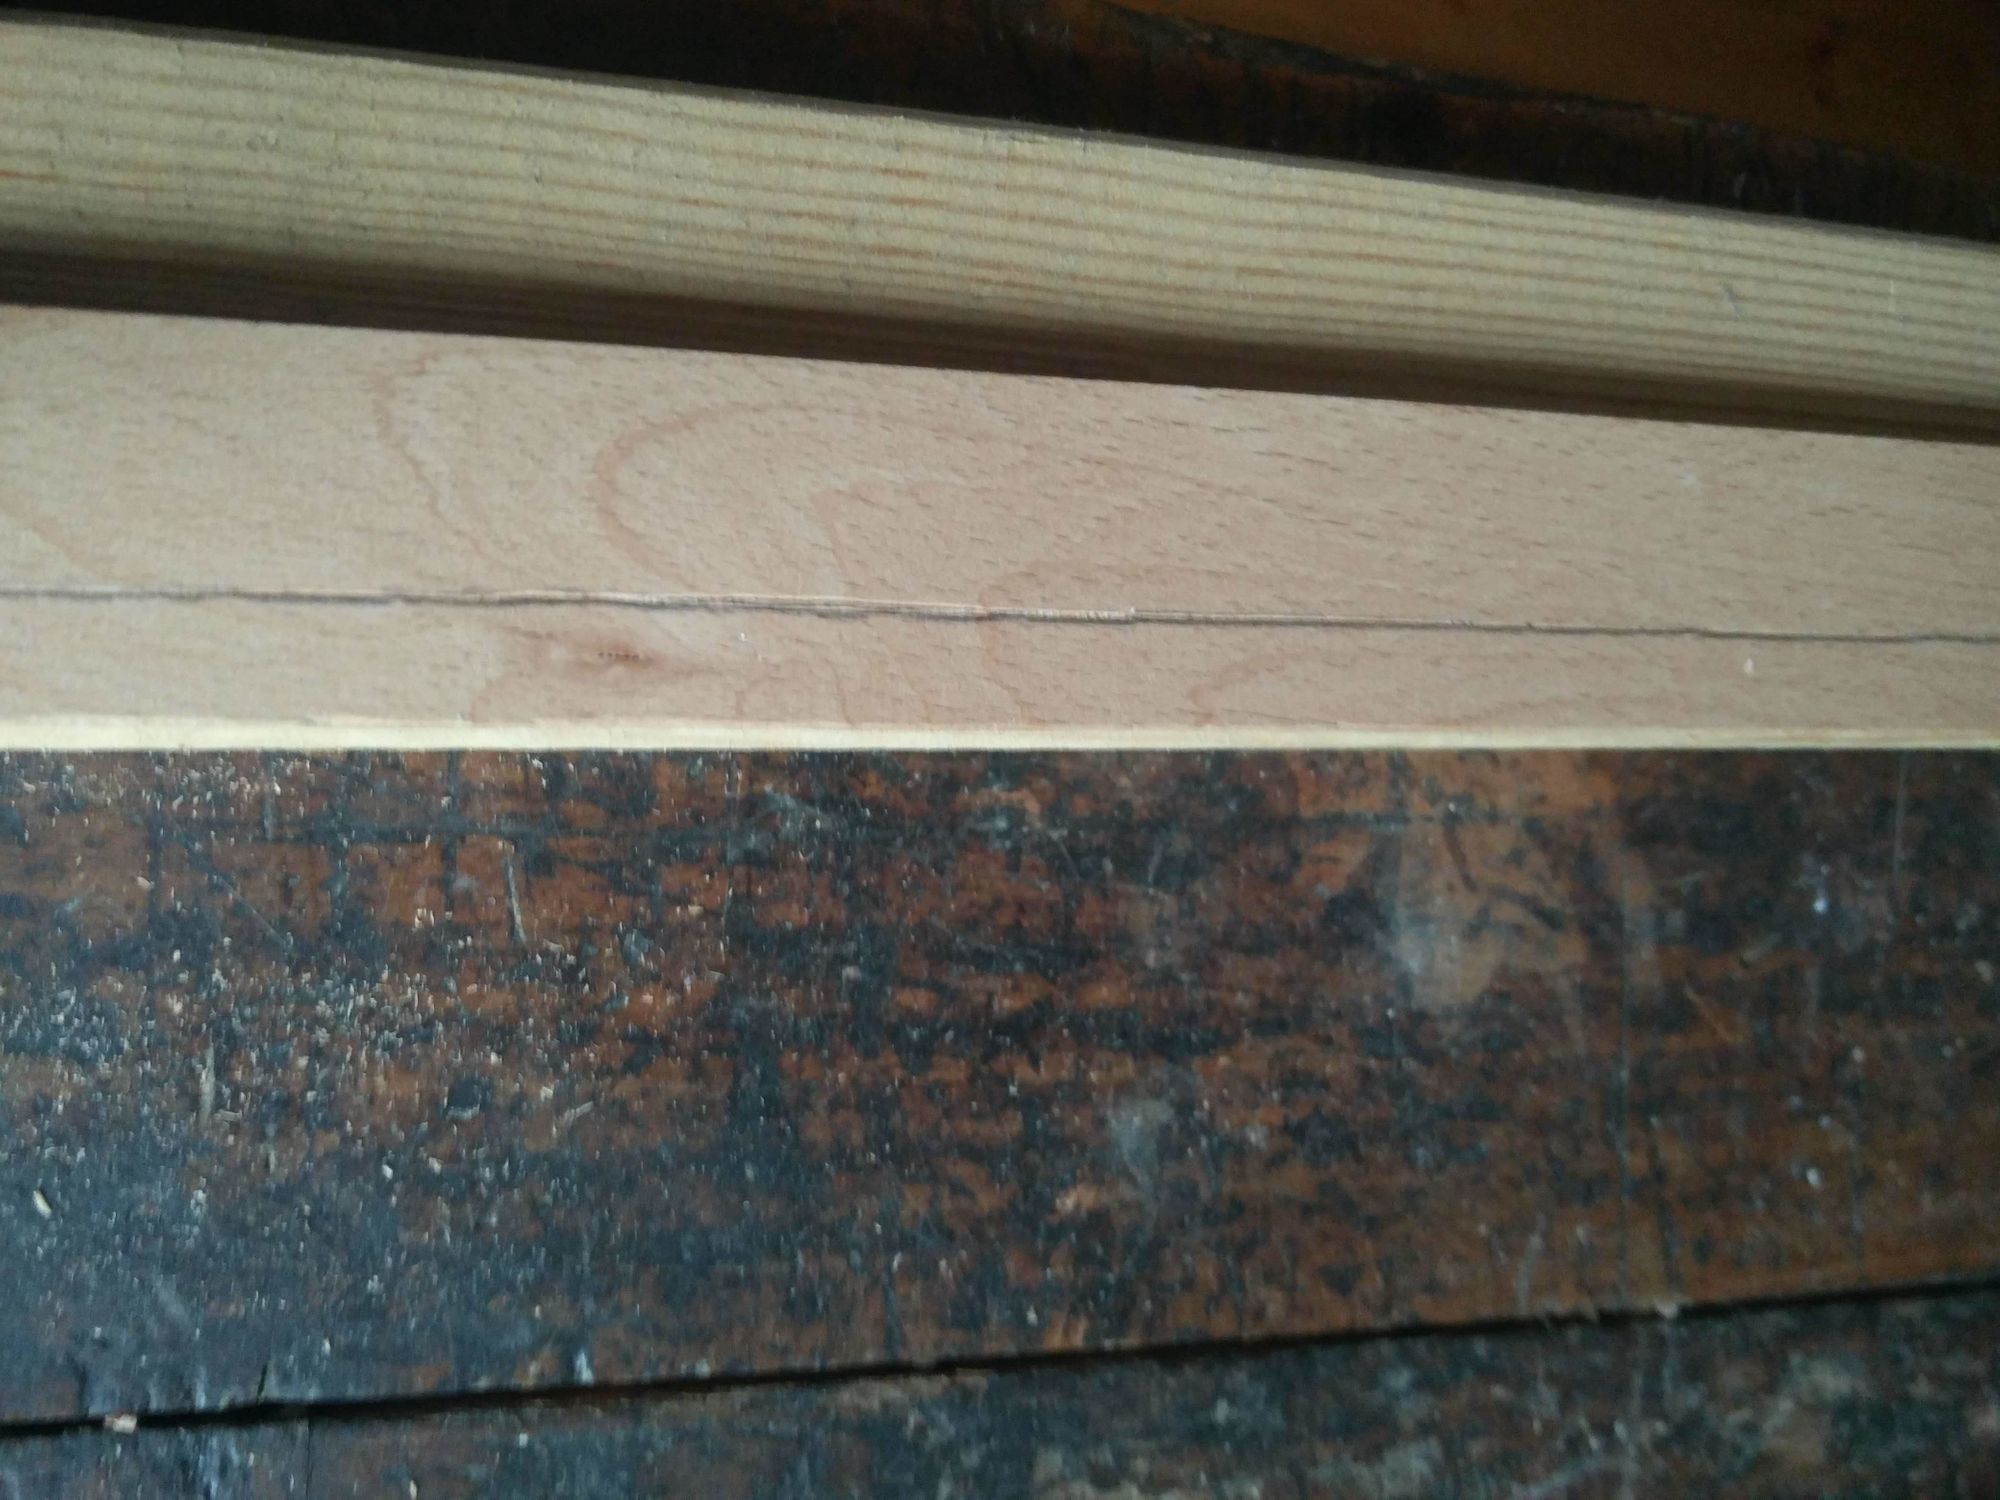
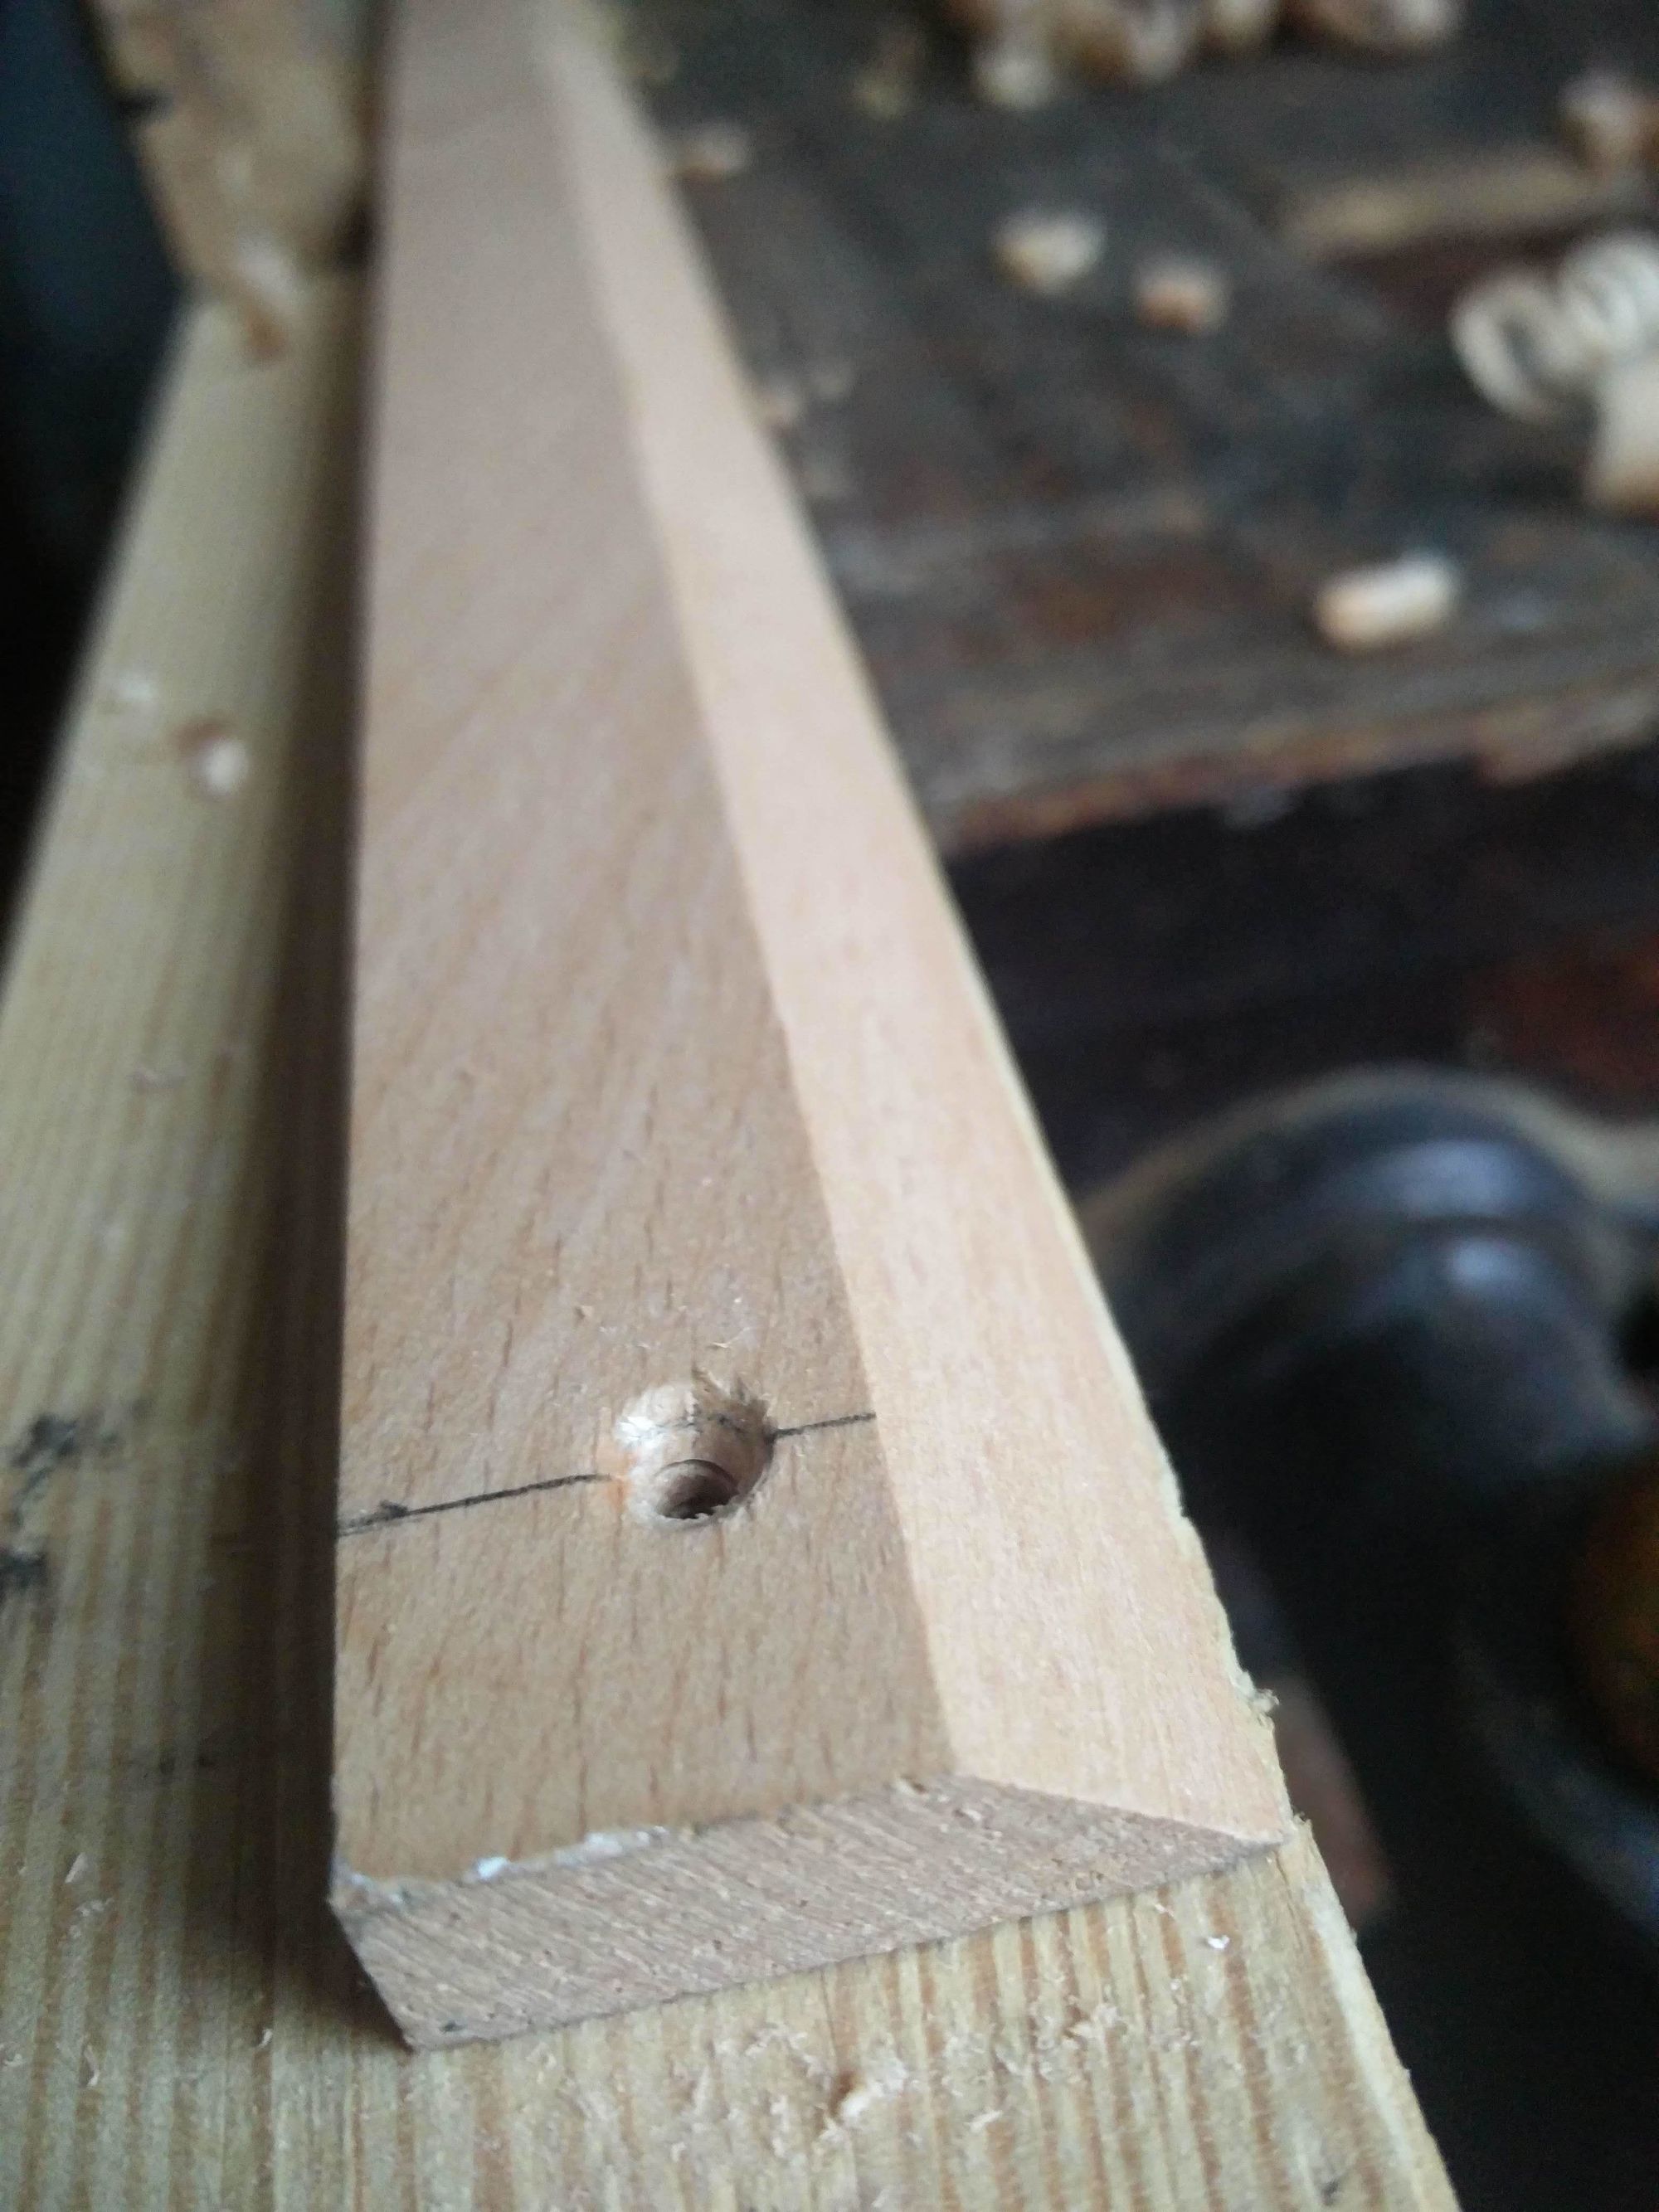
I used two long strips of beech, one for each side of the cleat, which I then planed to 45° matching angles. The process was easy: measure and scribe the 45° line with the marking gauge, and then keep planing at an angle.
To make it easy to hold the cleat and be able to plane up to its full depth, I temporarily attached it to a long pine plank I had lying around. The pictures show only the wall side of the cleat, but the toolrack side was created in exactly the same way.
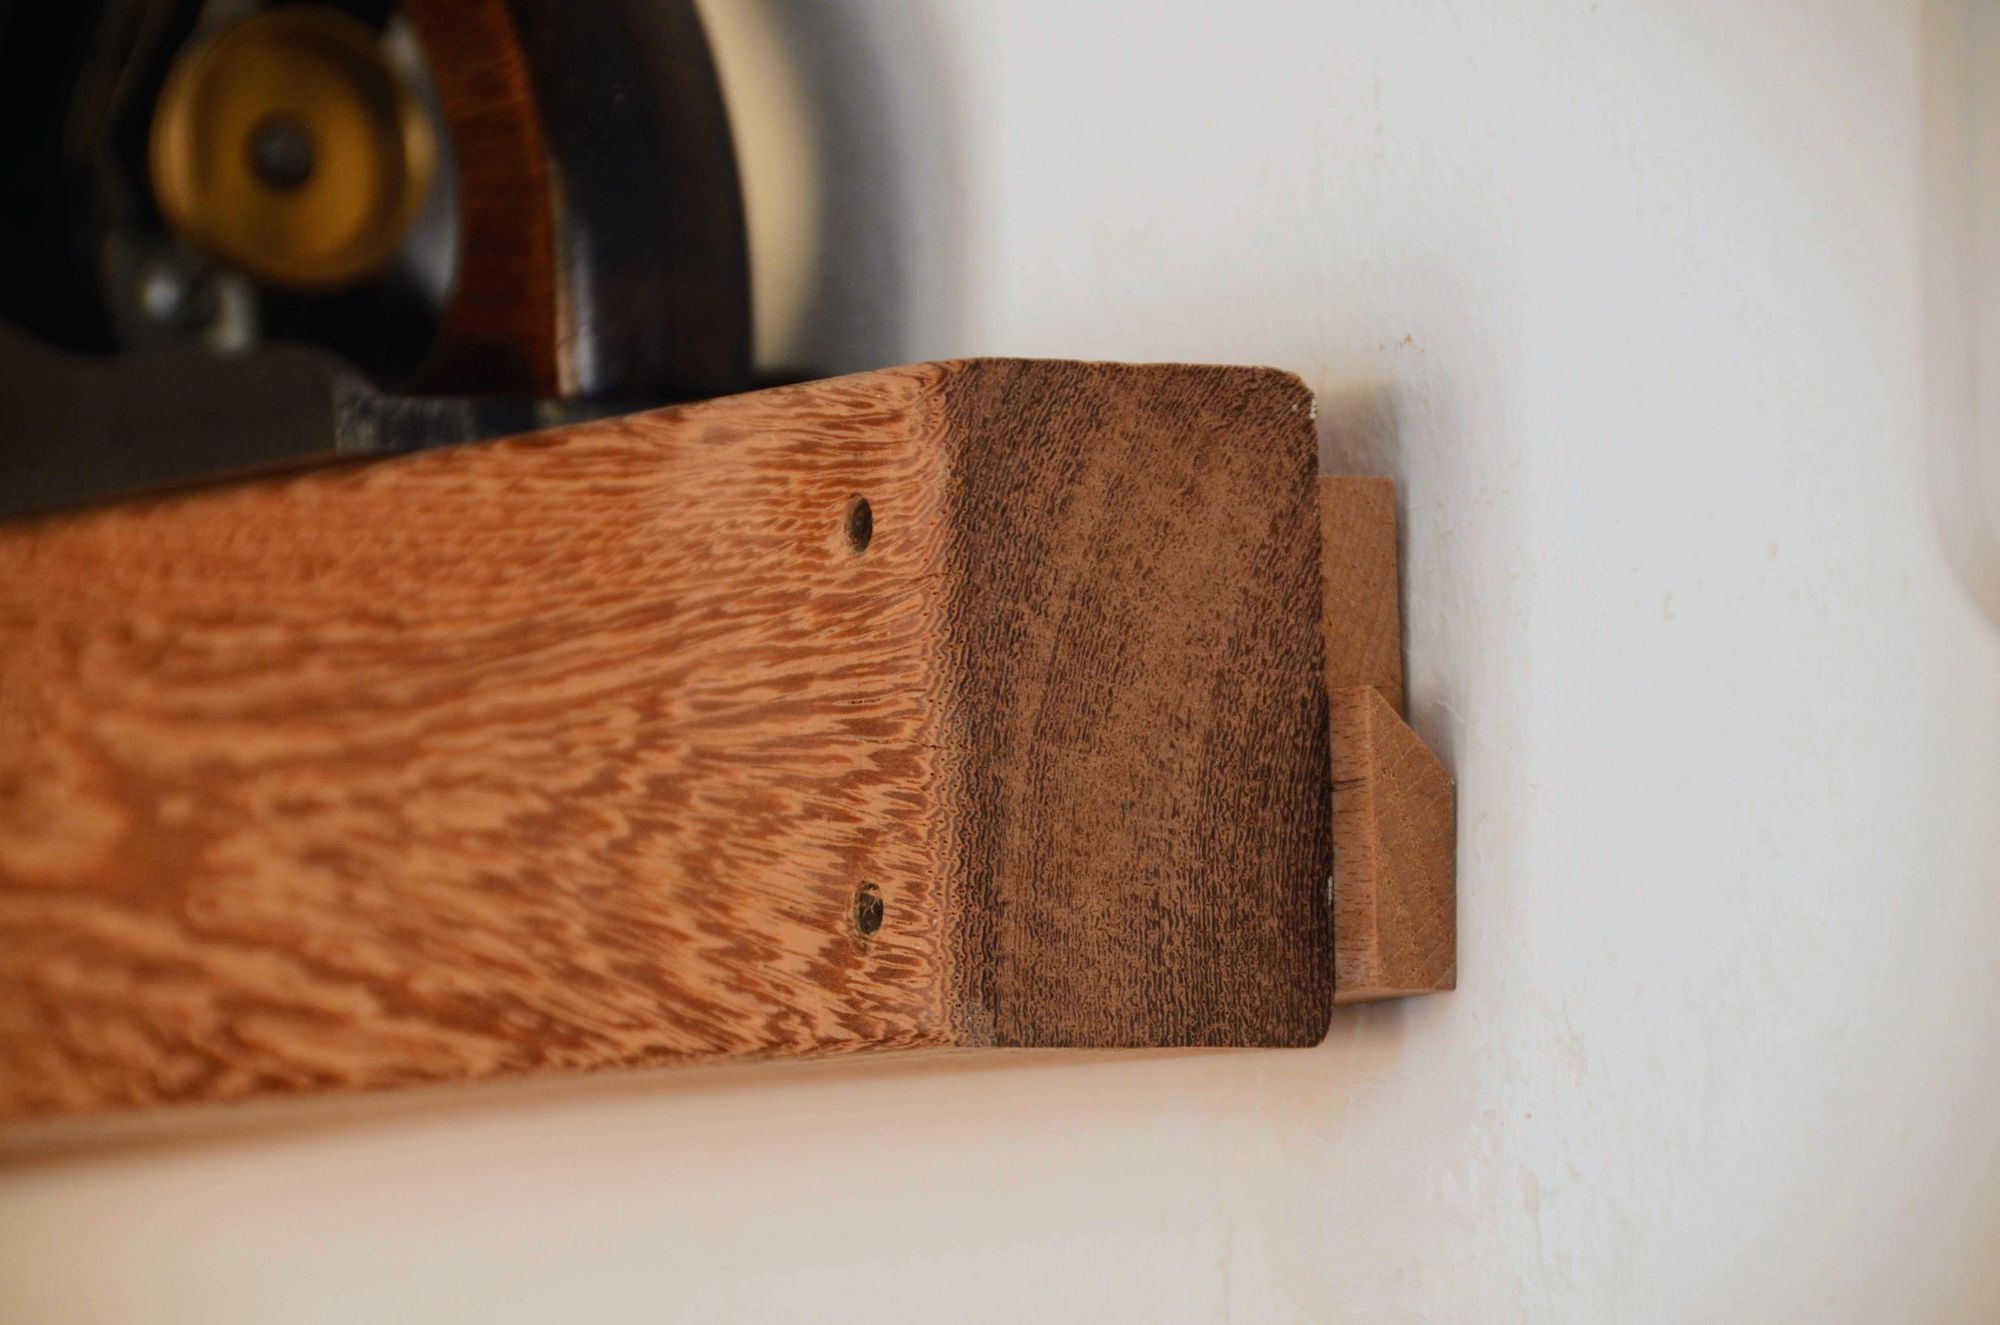

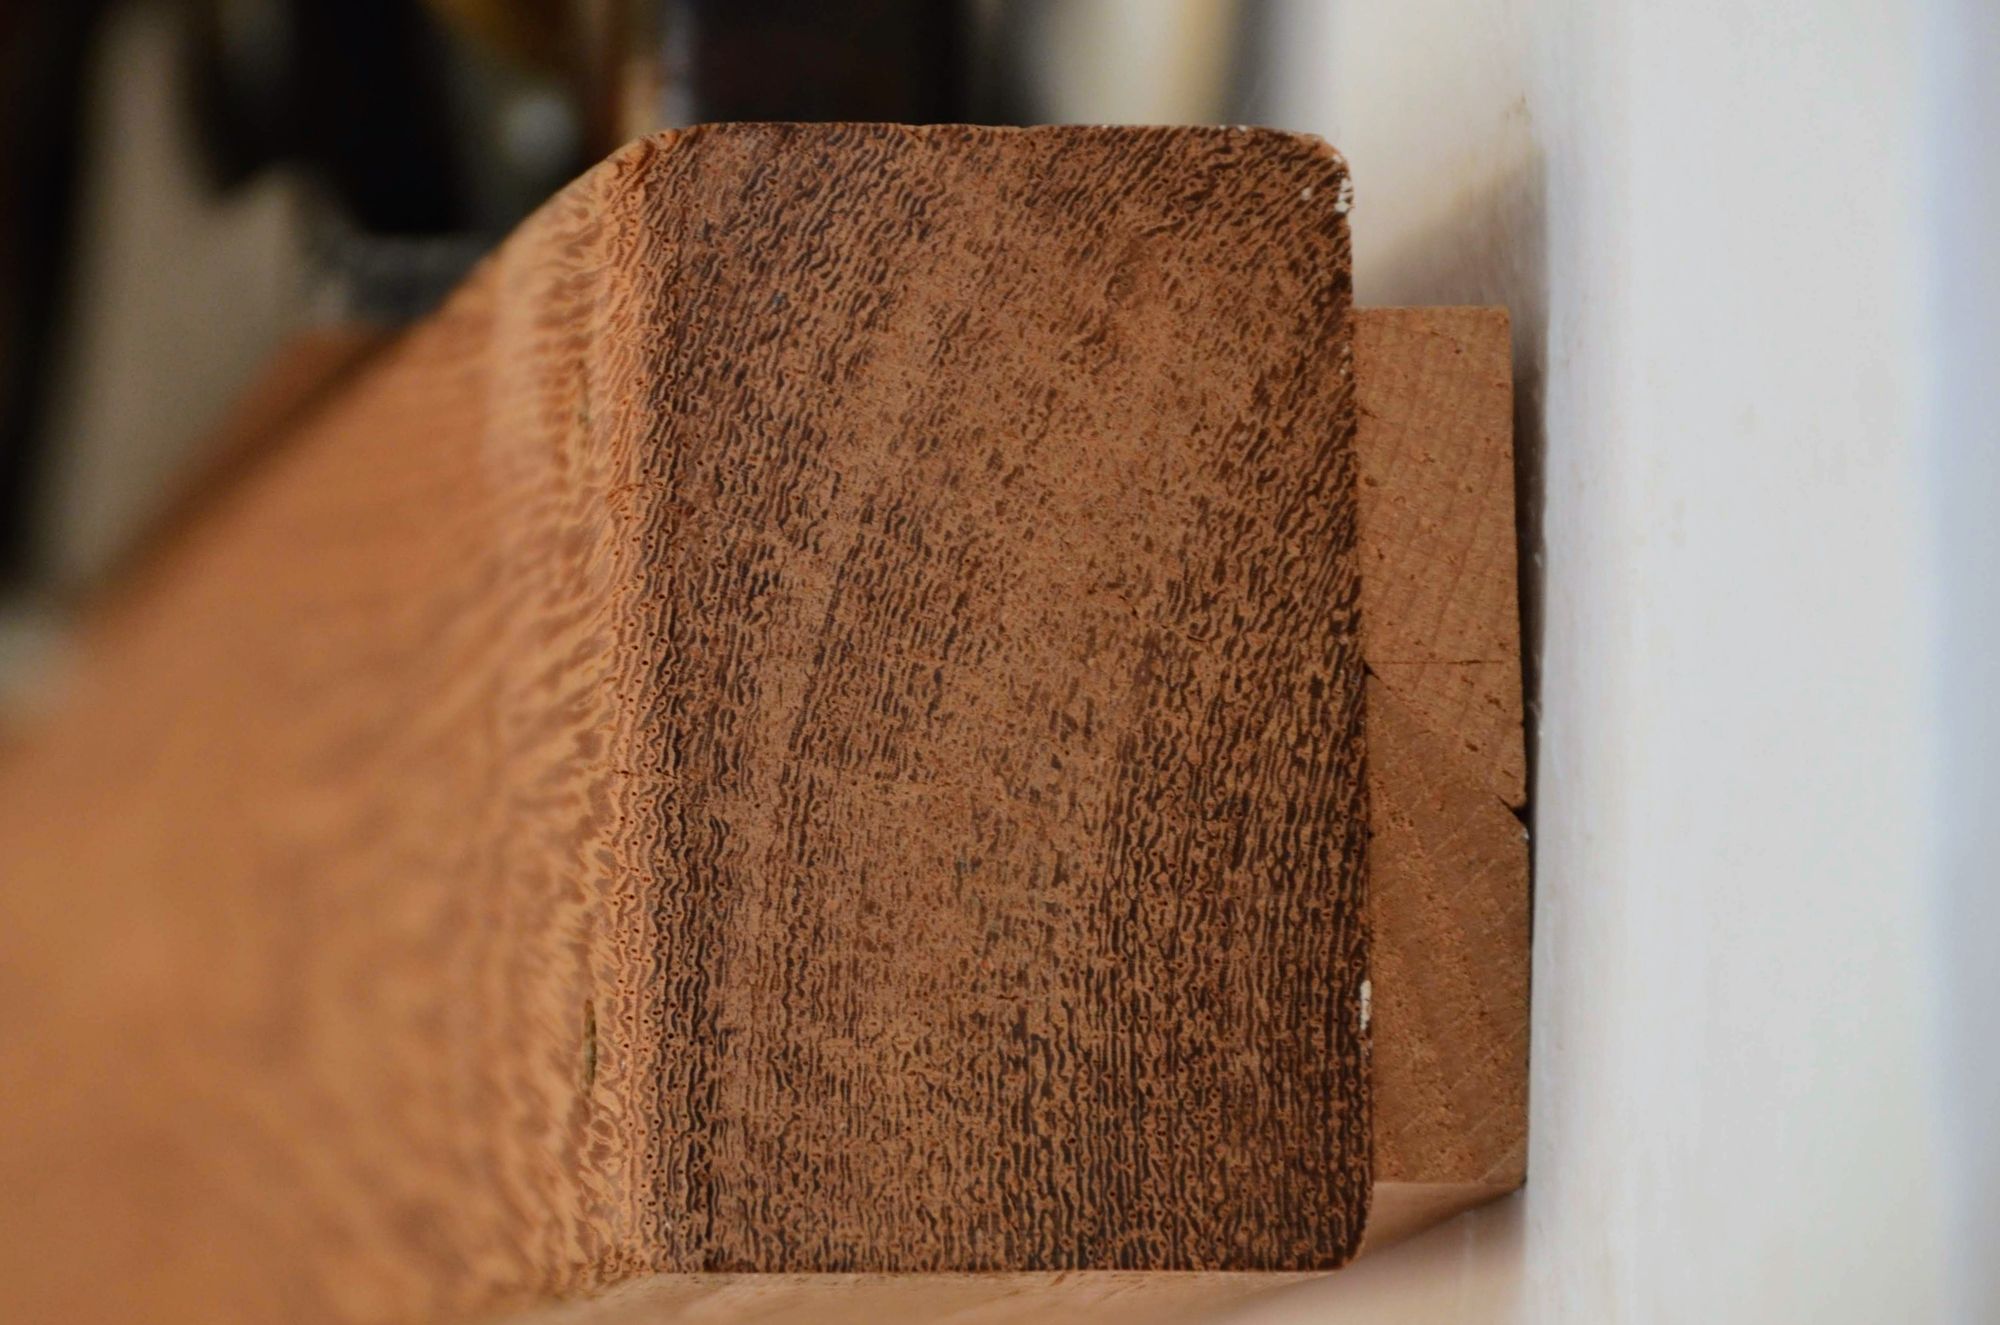
I was rather pleased with how well the two pieces matched together, and the degree of accuracy that you can get with hand tools. I'm a convert now. I french-cleat all the things.